


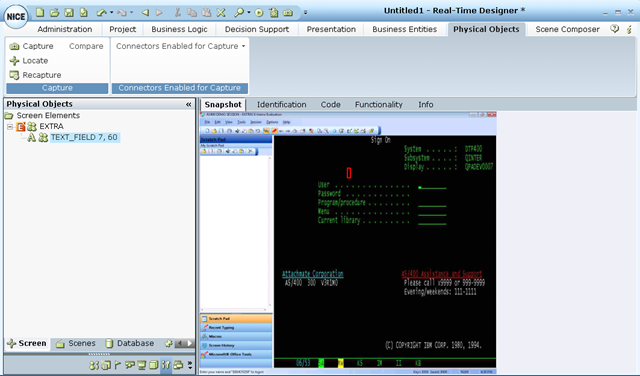
When you capture a HLLAPI screen element, the object’s hierarchy is automatically created in Real-Time Designer.
To capture a HLLAPI screen element:
| 1. | Run the Terminal Emulator application and create a session (session A by default). |
| 2. | Capture an HLLAPI control within the application. For more information, see Capturing a Screen Element. |
| 4. | At the root control (process-level), right-click and select the Show Hidden Captures option to see the hidden captures in the Screen Elements tree. |
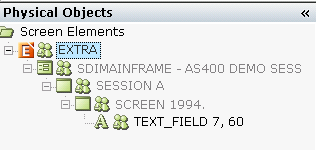
The root screen element’s level is a Terminal Process. The next lower level is Win32Form screen element. This level has a child levels of HLLAPI objects. Under the HLLAPI Session screen element is the HLLAPI Screen level, which is the parent of captured HLLAPI Edit screen element.